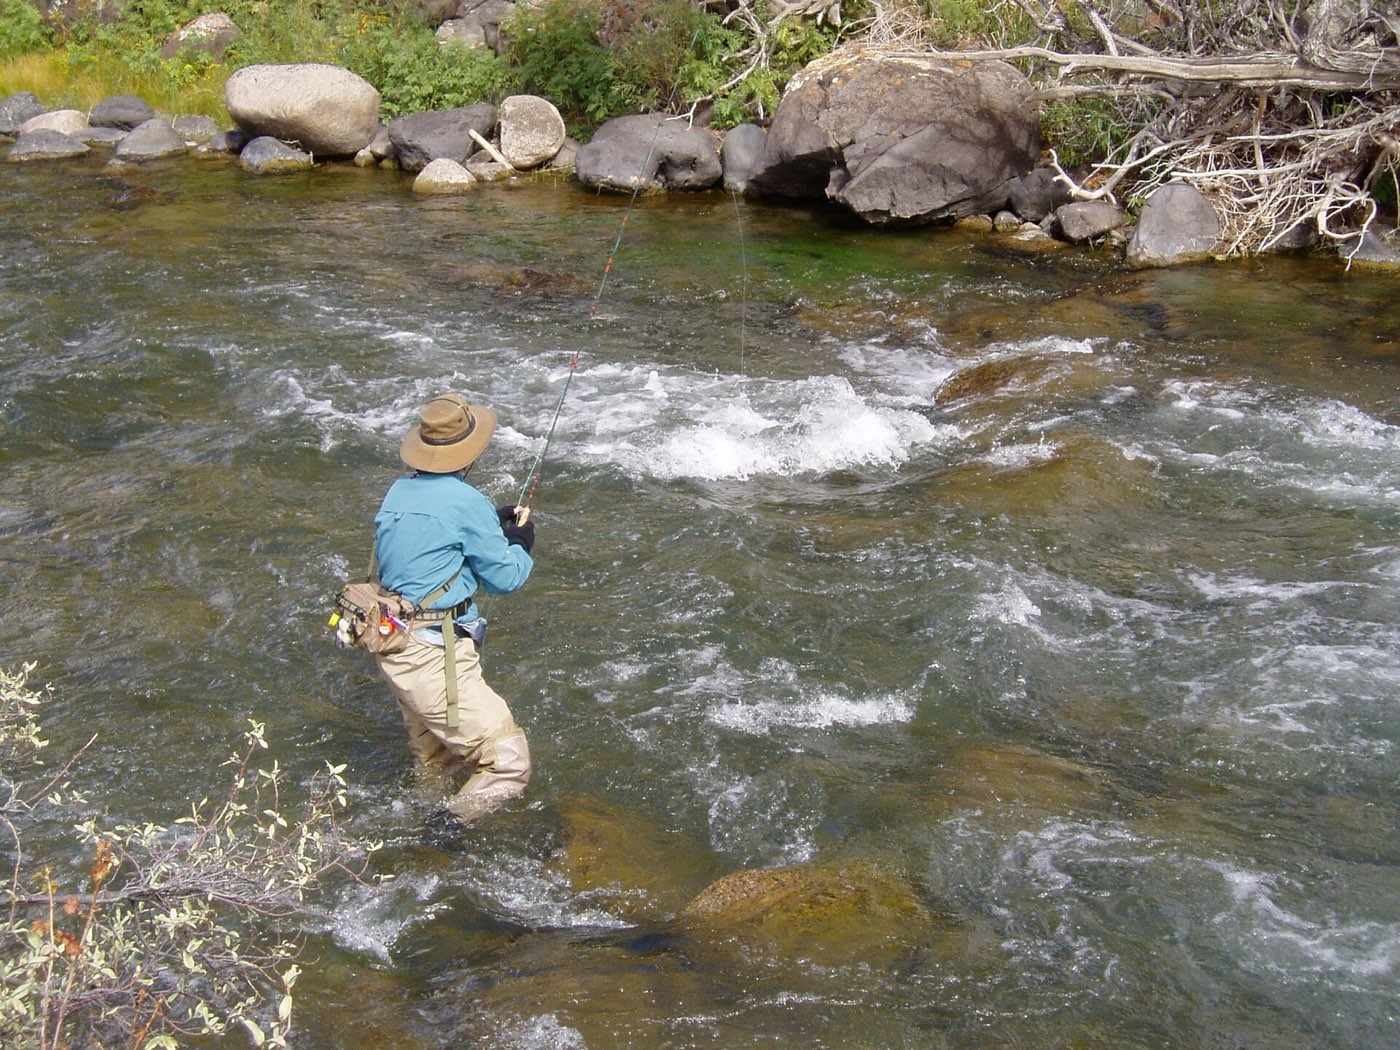
Indicator nymphing suspends one or two weighted flies below a small floating indicator that shows the take instead of your hand feeling it. It beats a tight-line rig once you are past 30 feet of range, in water deeper than about 3 feet, and on any day a beginner needs a visual cue instead of a tactile one. The single biggest mistake is treating the indicator's starting position as fixed: run 15 drifts through a good-looking pool with zero contact and the fault is almost always depth, not fly choice. This guide is the indicator-nymphing counterpart to our euro nymphing pillar and its leader-building companion; read both if you want the tight-line side of the same decision.
When to use it
Reach for an indicator any time the water or the fish put you outside tight-line range. That means pools and runs deeper than 3 feet, holding water 30 to 60 feet out where a euro leader cannot keep tension, and slower pocket water where a longer drift covers more ground than a short high-stick pass. It is also the right rig for a first season: watching a float pause is easier to learn than reading pressure through a rod tip, and a missed strike on an indicator still shows you what you missed, which speeds up the learning curve.
Cold water favors it too. Maryland DNR's trout fishing guidance puts 65°F and below as the temperature window where trout handle and feed normally, with water above 68°F flagged as stressful enough that DNR recommends anglers target other species instead (Maryland Department of Natural Resources, Trout Fishing in Maryland). In that cooler window, fish hold tighter to slow-current lies near the bottom rather than chasing food through the column, and a well-placed indicator rig parks two flies in that exact lane for the length of a full drift. Big water on the North Branch Potomac or the lower Savage River tailwater, wide pools on Penns Creek, and the flatter stretches of the Yellow Breeches all fish this way most of the season.
When to fish something else
Skip the indicator in close, fast pocket water under 30 feet where high-stick nymphing gets a fly to the fish faster with less rigging, or where euro nymphing reads a soft take through the sighter before an indicator would even twitch. Low, clear, technical pools are the other exception: an indicator lands with a splash and casts a shadow that a spooky, pressured fish reads as a warning, and a tight-line rig or a dry-dropper presents with far less disturbance. When trout are rising steadily to a hatch, take the nymph rig off entirely; nothing about an indicator setup improves a dry-fly presentation.
What you need
- A 9 to 9.5 foot rod in 4 to 6 weight with a standard weight-forward floating line. The Orvis Recon 9ft 5wt is a common Mid-Atlantic starting rod and doubles for dry flies and small streamers once you own it.
- A 9-foot tapered leader in 3X to 5X, plus a few feet of tippet material to extend it as you retie flies through the day.
- A strike indicator. Foam and yarn types ride low and land soft; adjustable screw-lock and slip-on bubble types reposition faster but hit the water harder. Our strike indicator roundup breaks down the tradeoffs by product and by water type.
- Weight: removable split shot, or a weighted point fly, or both. A Hareline Tungsten Slotted Bead 3.2mm on a size 12 to 16 nymph hook covers 2 to 3 feet of moderate current; step up to a Hareline Tungsten Slotted Bead 3.8mm for faster or deeper runs.
- Two flies, 12 to 18 inches apart, heavier fly on the point.
- Forceps, nippers, and floatant for a foam or yarn indicator.
Choosing an indicator
Match the indicator to the water, not to what is already tied on from the last trip. A larger foam or hard-bodied indicator floats more weight and stays visible in broken, riffled water, which is exactly where its splashdown and drag matter least. A smaller yarn or low-profile foam indicator sits closer to the surface, shows a soft take sooner, and disturbs the water less, which is what a slow, clear pool demands. Screw-lock and slip-on types let you change depth in seconds without cutting the leader, a real advantage on water with a riffle, a pool, and a run inside the same hundred yards. The tradeoff is that most of the field-adjustable designs are stiffer and land harder than wool or foam-on-a-toothpick rigging, so they are the wrong choice for the same flat, clear water where a soft take needs a soft indicator.
Setting depth: the 1.5x rule and when it fails
Start with the indicator 1.5 times the water's depth from the point fly. In 3 feet of moderate current, that puts the indicator 4.5 feet up the leader. The extra half-length exists because the flies do not fall straight down; current, tippet diameter, and the drag of the indicator itself all slow the sink rate, so the flies need more leader than the raw depth to reach bottom before the drift ends.
The rule fails in a few predictable spots. In slow, flat pools the flies sink close to their full rate with little resistance, so 1.5x drags bottom on almost every cast; drop to 1.1 or 1.2 times the depth instead. In heavy riffles and fast pocket water, the opposite problem shows up: fast current fights the sink rate hard enough that 1.5x never reaches the strike zone, and 1.8 to 2 times the depth, or added split shot closer to the fly, gets you there. Long-range casts past 30 feet run into a third failure mode: the extra leader between rod tip and indicator picks up slack and belly in the water, so the effective depth is shallower than the leader length suggests even when the math says otherwise. And in cold water, where fish hold tight to the slowest current near the bottom rather than moving to intercept food (a pattern documented in a 2020 study of rainbow trout energetics in the Journal of Experimental Biology, which found that drift-feeding trout minimize the oxygen cost of holding position by staying in slow water right at the edge of the faster food-carrying current), the standard rule under-delivers and needs a longer setting than the depth alone implies. None of these are guesses you make once. Watch what the indicator does on the first several drifts and let that tell you whether to shorten or lengthen, not the tape measure.
Weight placement: split shot vs weighted flies
Split shot pinched onto the leader above the flies is fast to add, fast to remove, and puts weight exactly where you want it regardless of which fly is tied on. The cost is friction: shot hangs up on rocks more than a bare leader does, and a rig with three shot bunched together snags at a different rate than one with the same total weight spread out. Weighted flies, usually a tungsten beadhead on the point, keep the terminal tackle simpler and present a more natural profile, but changing depth means changing flies, which is slower on the water and burns through your box faster.
The practical answer for most Mid-Atlantic runs is both, in proportion to the water. A moderately weighted point fly does most of the sinking, and one or two split shot 8 to 12 inches above it fine-tunes depth without retying anything. In water deeper than about 4 feet, or in current fast enough that a single fly cannot sink in time, add shot rather than switching to a heavier fly first: it is the faster adjustment, and you can strip it back off in ten seconds if the next run is shallower.
The technique, step by step
Step 1: Set the indicator at 1.5 times the depth
Estimate the depth of the run you are about to fish, then position the indicator that distance times 1.5 above the point fly. In 3 feet of water that is 4.5 feet. You should see the leader hang close to plumb below the indicator when you hold the rig up before the first cast. The common error is guessing depth from the surface alone: a run that looks 2 feet deep from the bank is often deeper at the seam where fish actually hold, so start a little deep and shorten if you snag bottom on nearly every drift, rather than starting shallow and never finding the strike zone at all.
Step 2: Add weight below the indicator
Pinch one to three split shot 8 to 12 inches above the point fly, or rely on a tungsten beadhead point fly alone in modest current. You should feel the extra weight load the rod tip slightly on the backcast; if you do not feel it, add more. The common error is weighting only the fly in fast, uneven water: a heavy fly sinks quickly right at the cast but then drags bottom for the rest of the drift, while shot placed higher on the leader lets the fly ride just above bottom through the whole run instead of just the start of it.
Step 3: Position and cast
Stand across and slightly upstream of the lie, close enough that one backcast reaches it. Cast up and across at roughly a 45 degree angle so the flies have time to sink before they reach the fish. You should see the flies enter the water first, with the indicator landing a beat later. Indicator-first entry is the common error here: it means the leader turned over past the target, the flies plop down short, and the whole rig starts the drift already dragging instead of sinking cleanly.
Step 4: Mend immediately
The instant the line lands, flip a soft upstream mend into the fly line, not the leader or the indicator. You should see the indicator hold roughly still on the water while the belly of the line lifts and resets upstream of it. The common error is mending late or mending too hard: a late mend lets the current drag the indicator ahead of the flies before you catch it, and an aggressive mend that catches the indicator itself yanks the flies off the bottom and restarts the sink from scratch.
Step 5: Track the drift
Follow the indicator downstream with the rod tip, holding just enough line off the water that a strike still registers but the rig is not being towed. You should see the indicator ride at the speed of the current directly around it, not the faster seam a few feet away if you are fishing a slower lane along the bank. The common error is watching the fly line instead of the indicator: by the time slack shows up in the line, a soft take has already come and gone.
Step 6: Set on anything
Strike on a pause, a dip, a sideways dart, or the indicator simply stopping. Lift the rod firmly to the side or straight up, not a big overhead haul. You should feel either a fish or the bottom; both are acceptable outcomes at this stage of learning the rig. The common error is waiting to confirm the take before setting. A trout mouths and rejects a fly inside half a second in cold water, and by the time the indicator dips a second time, the fish is already gone.
Step 7: Adjust before you blame the fly
After 8 to 10 drifts through a good-looking run with no contact of any kind, not even bottom, move the indicator 12 to 18 inches and try again. You should start ticking bottom occasionally once the depth is right, which is the sign you were previously fishing over the fish rather than through their lane. The common error is changing flies first. A different pattern rarely outfishes the same fly presented at the depth where the fish are actually holding.
Common mistakes
Setting the indicator once and leaving it there
The depth that works in one pool is wrong in the next riffle. Reset it every time you move to meaningfully different water, not once at the start of the day.
Overloading depth with too much shot
Constant snags after adding weight mean you went too far. Cut the shot in half and check whether the fly still reaches the strike zone within the first third of the drift; if it does, that is enough weight.
Fishing an indicator too visible for the water
A loud foam bubble that works fine in a riffle puts fish down in a slow, clear pool. Swap to yarn or a smaller low-profile foam disc when the water goes flat and clear, and save the bigger, brighter type for broken or stained water.
Casting the indicator directly over a fish you can see
Even a soft-landing indicator throws a shadow and a ripple. Cast beyond the seam and let the flies swing into the lane, rather than dropping the whole rig on top of a visible fish before the flies arrive.
Letting slack build back in after the mend
A rod tip held too high, or held still while the current moves the line, lets slack creep right back into the drift within a few seconds of a good mend. Keep the tip low and moving at the same pace as the indicator through the rest of the drift, not just at the start.
Flies that fit this technique
Indicator rigs tolerate bulkier, heavier flies than a tight-line leader does, since the indicator carries the weight instead of your hand.
- Pheasant Tail Nymph: the standard natural point fly, buggy and slim enough to fish anywhere.
- Hare's Ear Nymph: a heavier-profile searching pattern for stained or faster water.
- Walt's Worm: a simple, fast-sinking point fly that carries a bead well past 2 feet of depth.
- Prince Nymph: an attractor dropper that works as the lighter, upper fly in a two-fly rig.
- Mop Fly: a bulky, buoyant-resistant point fly for high or stained flows an indicator can support with ease.
Questions people ask
How deep should I set my strike indicator?
Start at 1.5 times the water's depth from the point fly, so 4.5 feet of leader above the fly in 3 feet of water. Shorten it in slow, flat pools and lengthen it in fast riffles or past 30 feet of range, then adjust from what the indicator shows you on the first several drifts.
What is the difference between indicator nymphing and euro nymphing?
Indicator nymphing floats one or two flies at a set depth under a visual float and covers longer range and deeper water. Euro nymphing removes the indicator entirely and reads the take through direct tension on a sighter at closer range, which detects softer takes but only works inside about 30 feet.
Can I use split shot with indicator nymphing?
Yes, and on most Mid-Atlantic runs it is the fastest way to fine-tune depth. Pinch one to three shot 8 to 12 inches above the point fly rather than relying on fly weight alone, especially in water deeper than about 4 feet.
What size strike indicator should I use?
Size to the water, not the rig. A larger foam or hard-bodied indicator handles fast, broken water and heavier weight; a smaller yarn or low-profile foam indicator is the better choice on slow, clear pools where a splashy landing spooks fish. Our strike indicator roundup covers specific products for each case.
Related reading
- Euro nymphing: the complete guide for the tight-line alternative in pocket water and close range.
- Euro nymphing leader setup to build the leader that alternative depends on.
- High-stick nymphing in pocket water for the middle ground between an indicator rig and a full euro leader.
- Best strike indicators for nymph fishing for product picks by water type.
- Reading water on trout streams to find the seam before you set depth at all.
Updated October 8, 2026.